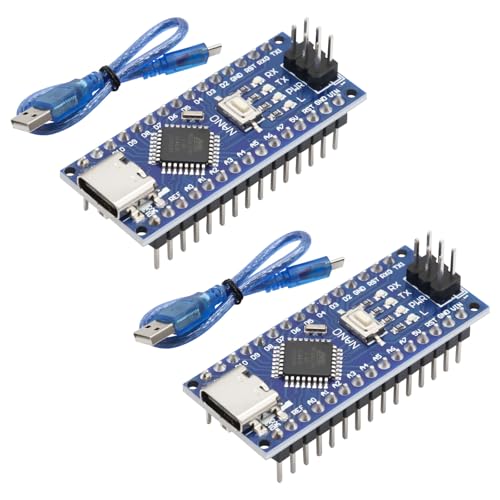
Arduino Nano Everyday Board
Match 98%Arduino
- ASIN:
- B0F1FQMNXM
Microcontroller$10-$25
The Arduino Nano Everyday Board is a compact, breadboard-friendly microcontroller board. It is suitable for embedded projects and serves as the core processing unit for the drone, interpreting sensor data and controlling motor output.
- ATmega328P microcontroller
- Small footprint, breadboard-friendly
- Multiple analog and digital pins
- USB mini-B connectivity
- 3.3V/5V operation
In this shop: The Arduino Nano Everyday Board aligns with the DIY Long Range Arduino Nano Mini Drone Kit vibe by providing the central intelligence for a custom-built, programmable drone.
View Arduino Nano Everyday Board details →